SubCaelo - Creating an animation tool in UnrealEngine5
Using Unreal Engine and C++ to create a friendly interface to animate vehicles in a Pod-racer game.
Contextualisation
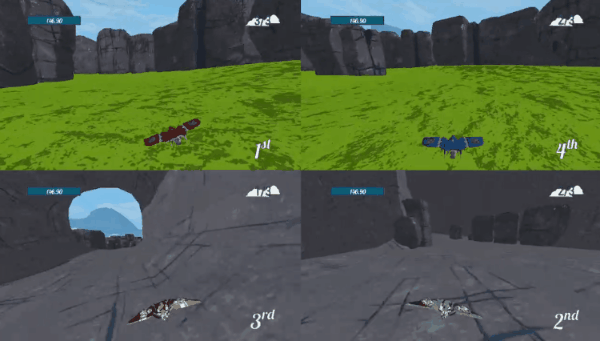
During my second year of bachelor’s degree in Game Programming, one of the modules we had to study was about tool creation. For that module we had to help the third year Game Programmers on a project they were creating. The name of the project is called SubCaelo, a Pod-Racer multiplayer game created on Unreal Engine 5. The reference we had for gameplay/visuals was the following:
Since we were working for a team, we were given different subjects to work on. The subject I chose was character animation.
Since the player was not a humanoïd character but a vehicle, I had to modify positions/rotation of different objects/meshes to fulfil my duty. This was of course not a tool “per se” but was validated by the team and the teacher as a tool replacement.
The first step
My first step was to understand the project and get familiar with the player character (APodPawn).
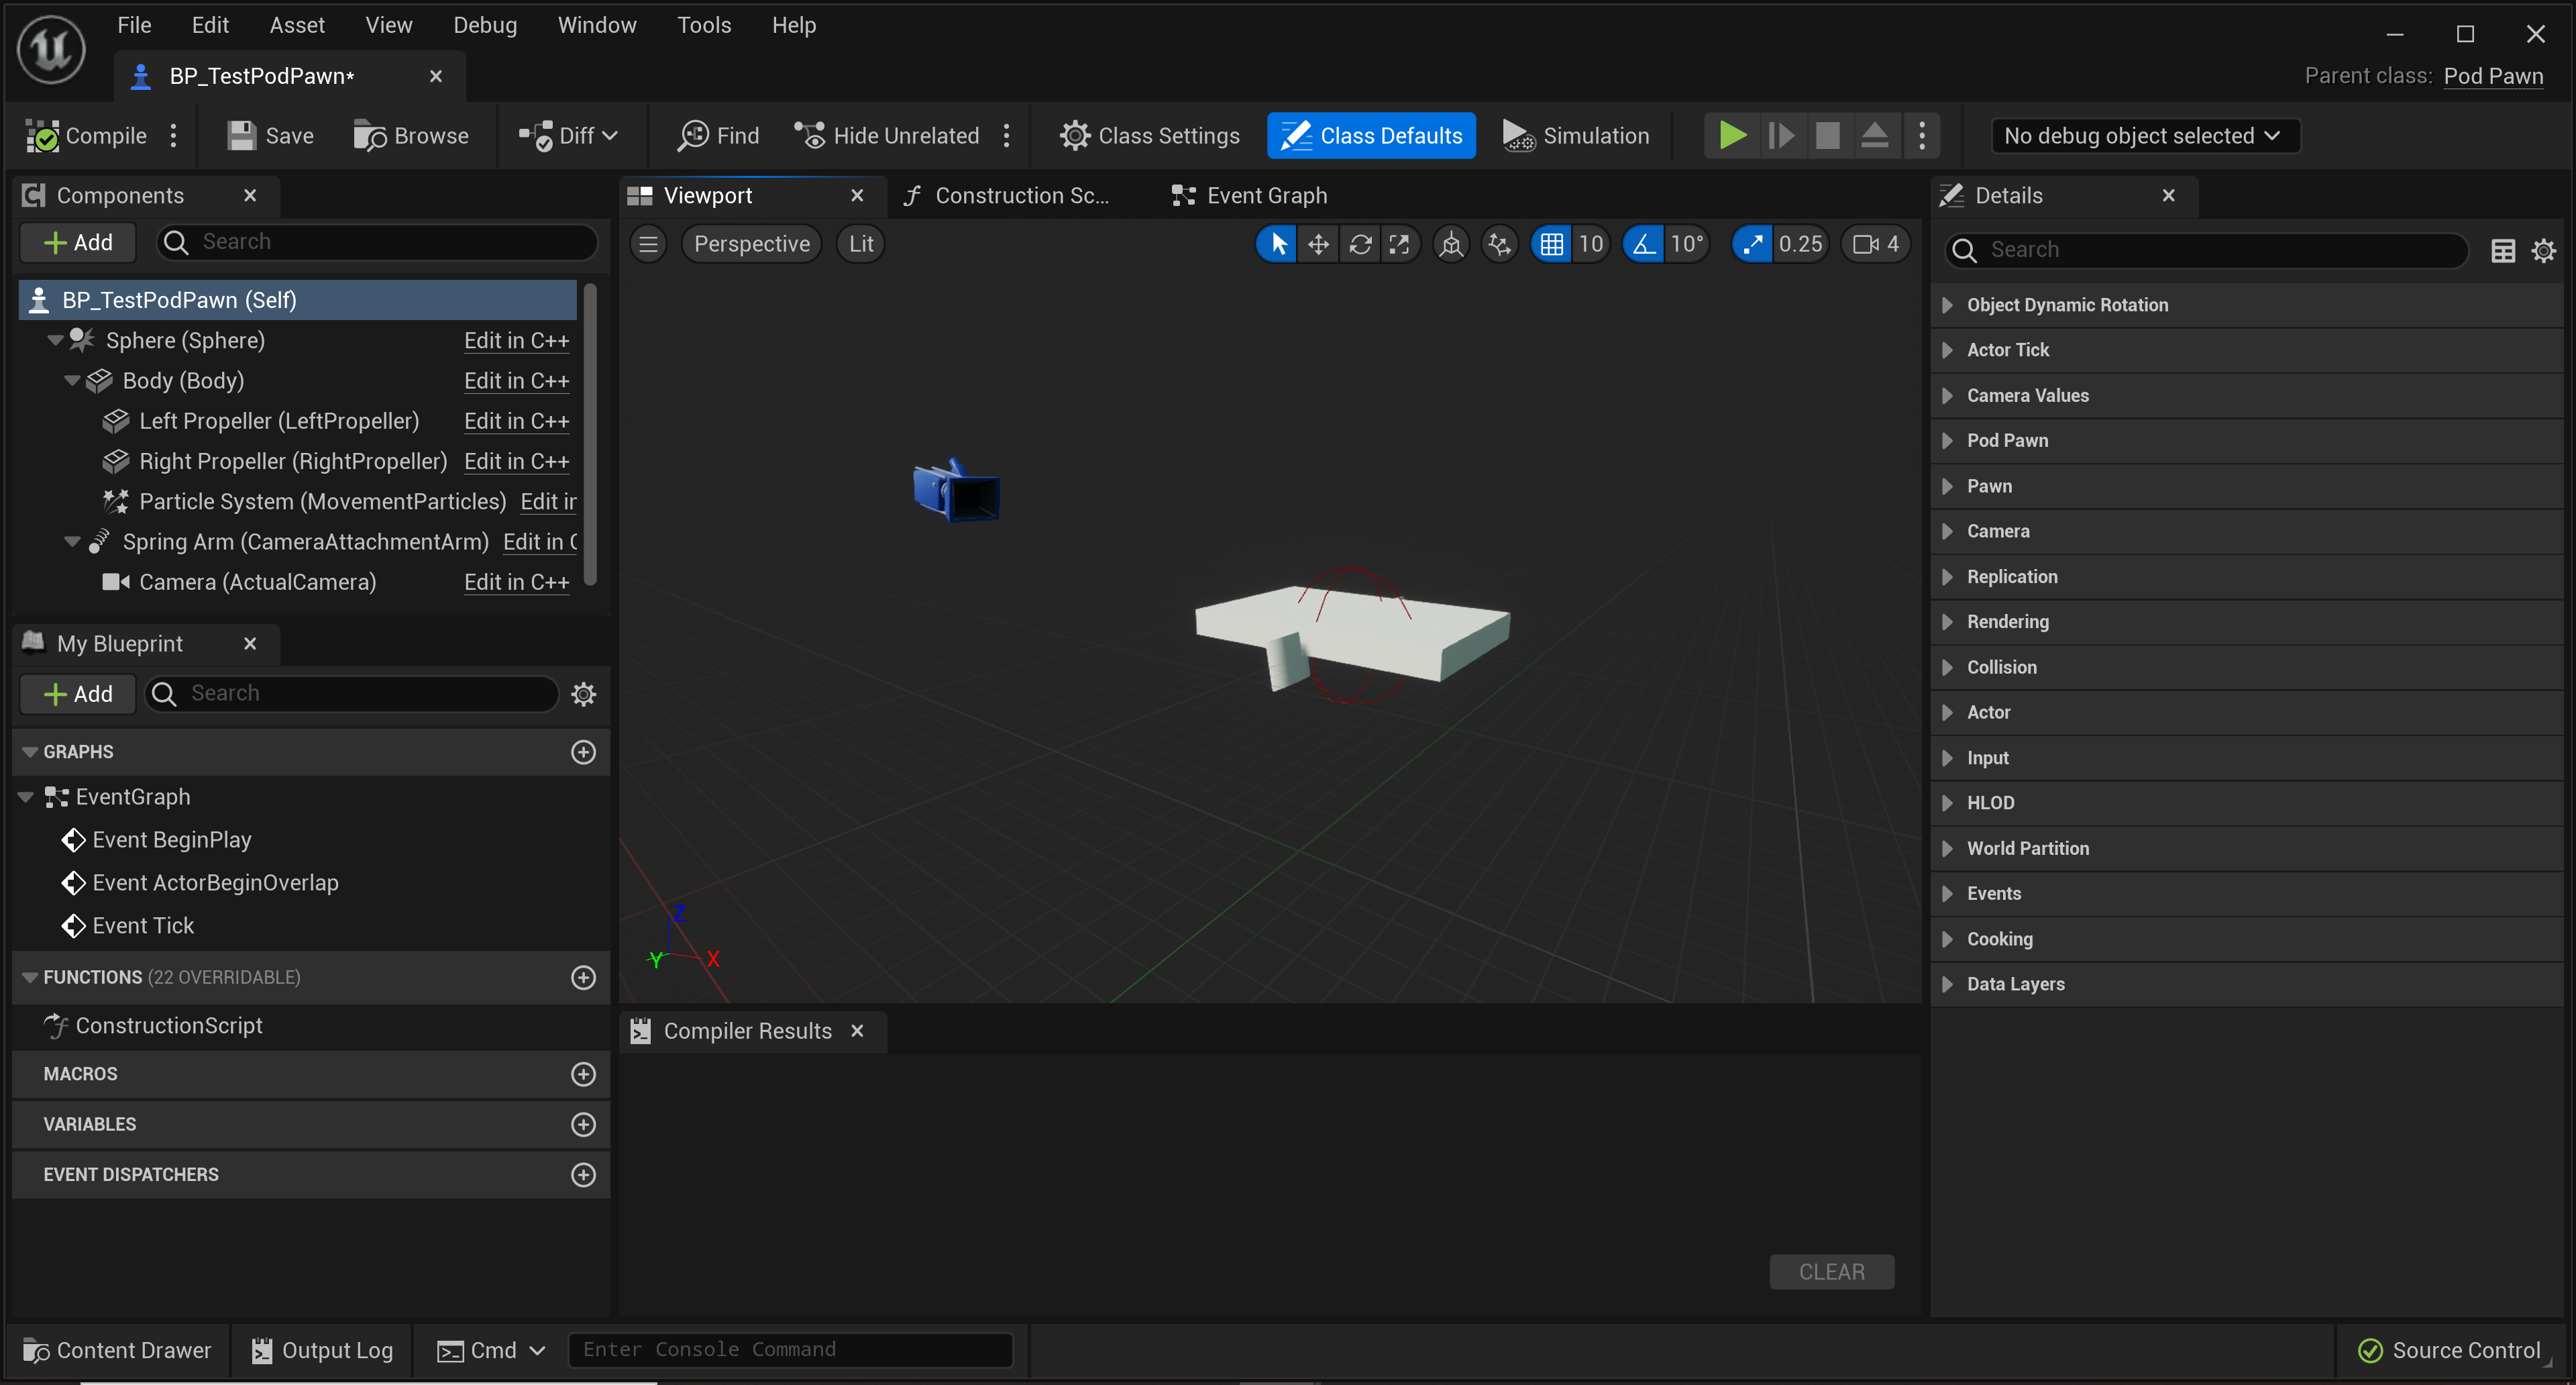
Since the player was not done in blueprint, I had to dive in the C++ file used to create the player and understand it.
Deep dive in the code
The first thing I wanted to do was to be able to rotate the propellers according to the player’s input. To do so I created a method called UpdatePropellersRotation() that took input from the controllers and set the relative rotation of the two pod’s propellers. The method is the following:
1
2
3
4
5
6
7
8
9
10
11
12
void APodPawn::UpdatePropellersRotation()
{
	FRotator RightRotation = RightPropellerBasicRotation;
	RightRotation.Roll = RightStick.Y * PropellersMaxRotation.Roll;
	RightRotation.Pitch = -RightStick.X * PropellersMaxRotation.Pitch;
	RightPropeller->SetRelativeRotation(RightRotation);

	FRotator LeftRotation = LeftPropellerBasicRotation;
	LeftRotation.Roll = -LeftStick.Y * PropellersMaxRotation.Roll;
	LeftRotation.Pitch = -LeftStick.X * PropellersMaxRotation.Pitch;
	LeftPropeller->SetRelativeRotation(LeftRotation);
}
Of course I wanted to expose variables so that future game designers could use them in order to modify them at their will therefor I used
UPROPERTY(EditAnywhere, Category = "NAME_OF_THE_CATEGORY")
to expose them and order them in catergories.
Once that was done, I wanted to do the same for the pod’s body only it had to react to both Sticks at the same time. so the method was slightly different:
1
2
3
4
5
6
7
8
void APodPawn::UpdateBodyRotation()
{
	FRotator BodyRotation = BodyBasicRotation;
	BodyRotation.Pitch = -GlobalStickDirection.Y * BodyMaxRotation.Pitch; //Multiply by Acceleration
	BodyRotation.Roll = GlobalStickDirection.X * BodyMaxRotation.Roll;
	Body->SetRelativeRotation(BodyRotation);
}
One of the improvements that had to be added was to modify the pitch according to acceleration, but since I it wasn’t yet working correctly I couldn’t do so.
Going further
After that was done and validated, the team showed me another reference where the camera rolled instead of the pod’s body. Since it was actually quite quick to do, I created another method to do so:
1
2
3
4
5
6
7
8
9
10
11
void APodPawn::UpdateBodyAndCameraRotation()
{
	FRotator BodyRotation = BodyBasicRotation;
	BodyRotation.Pitch = -GlobalStickDirection.Y * BodyMaxRotation.Pitch; //Multiply by Acceleration
	Body->SetRelativeRotation(BodyRotation);

	FRotator CameraRotation = SpringArm->GetRelativeRotation();
	CameraRotation.Roll = GlobalStickDirection.X * BodyMaxRotation.Roll;
	SpringArm->SetRelativeRotation(CameraRotation);
}
The main difference was that I had to take a pointer to the Pod’s SpringArm and use values on it’s pitch. After that, I just had to call the two methods in the
void APodPawn::Tick(float DeltaTime).
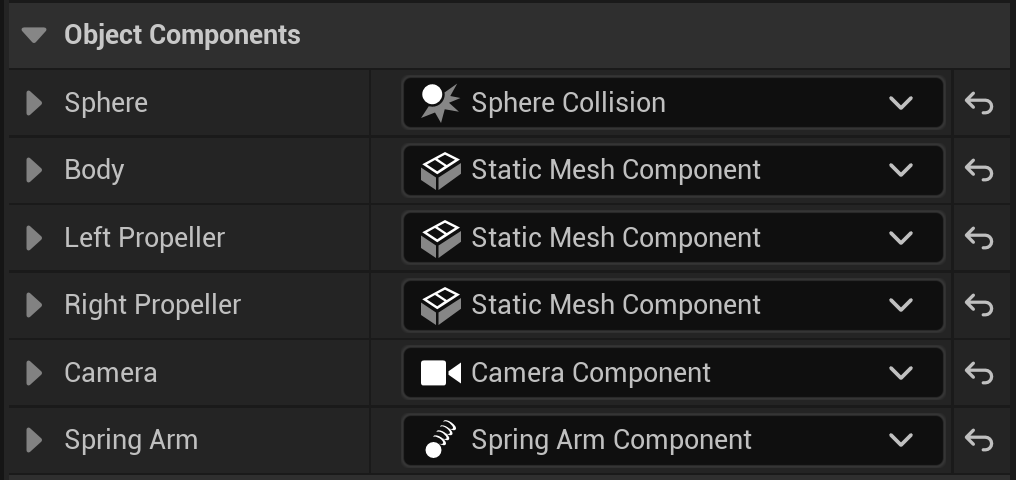
In the end the “.h” and result looked like this:
1
2
3
4
5
6
7
8
9
10
11
12
13
14
15
16
17
18
19
	//Pod Collider Sphere
	UPROPERTY(EditAnywhere, Category = "Object Components")
		class USphereComponent* Sphere;
	//Pod Body
	UPROPERTY(EditAnywhere, Category = "Object Components")
		class UStaticMeshComponent* Body;
	//Left Propeller
	UPROPERTY(EditAnywhere, Category = "Object Components")
		class UStaticMeshComponent* LeftPropeller;
	//Right Propeller
	UPROPERTY(EditAnywhere, Category = "Object Components")
		class UStaticMeshComponent* RightPropeller;
	//The Camera attached to the player
	UPROPERTY(EditAnywhere, Category = "Object Components")
		class UCameraComponent* Camera;
	//The Spring Arm used by the camera
	UPROPERTY(EditAnywhere, Category = "Object Components")
		class USpringArmComponent* SpringArm;
1
2
3
4
5
6
7
8
9
10
11
12
13
14
15
	//Body basic rotation
	UPROPERTY(EditAnywhere, Category = "Object Dynamic Rotation")
		FRotator BodyBasicRotation = { 0.0f, 0.0f, 0.0f };
	//Left propeller basic rotation
	UPROPERTY(EditAnywhere, Category = "Object Dynamic Rotation")
		FRotator LeftPropellerBasicRotation = { 0.0f, 90.0f, 100.0f };
	//Right propeller basic rotation
	UPROPERTY(EditAnywhere, Category = "Object Dynamic Rotation")
		FRotator RightPropellerBasicRotation = { 0.0f, 90.0f, 100.0f };
	//Body max rotation
	UPROPERTY(EditAnywhere, Category = "Object Dynamic Rotation")
		FRotator BodyMaxRotation = { 15.0f, 15.0f, 15.0f };
	//The max rotation given to propellers
	UPROPERTY(EditAnywhere, Category = "Object Dynamic Rotation")
		FRotator PropellersMaxRotation = { 50.0f, 50.0f, 50.0f};
Game feel improvement
Once the Pod had the correct behaviour, I felt like it was missing something so I decided to add a few methods to improve the feeling of speed. In the “.h” file I added camera values:
1
2
3
4
5
6
7
8
9
10
11
12
UPROPERTY(EditAnywhere, Category = "Camera Values")
		float SpringArmPtich = -10.0f;
	UPROPERTY(EditAnywhere, Category = "Camera Values")
		float CameraZoomInSpeed = 15.0f;
	UPROPERTY(EditAnywhere, Category = "Camera Values")
		float CameraZoomOutSpeed = 15.0f;
	UPROPERTY(EditAnywhere, Category = "Camera Values")
		float  InitialFOV = 70.0f;
	UPROPERTY(EditAnywhere, Category = "Camera Values")
		float MaxFOV = 100.0f;
	UPROPERTY(EditAnywhere, Category = "Camera Values")
		float MinFOV = 65.0f;
and in the “.cpp” file the different methods:
1
2
3
4
5
6
7
void APodPawn::ResetCameraFOV(float DeltaTime)
{
	if (Camera->FieldOfView > InitialFOV)
		Camera->FieldOfView -= DeltaTime * CameraZoomOutSpeed;
	if (Camera->FieldOfView < InitialFOV)
		Camera->FieldOfView += DeltaTime * CameraZoomInSpeed;
}
1
2
3
4
5
void APodPawn::IncreaseCameraFOV(float DeltaTime)
{
	if (Camera->FieldOfView < MaxFOV)
		Camera->FieldOfView += DeltaTime * CameraZoomOutSpeed;
}
1
2
3
4
5
void APodPawn::DecreaseCameraFOV(float DeltaTime)
{
	if (Camera->FieldOfView > MinFOV)
		Camera->FieldOfView -= DeltaTime * CameraZoomInSpeed;
}
All those methods were called in a switch that took the PlayerState as reference:
1
2
3
4
5
6
7
8
9
10
11
12
switch (PlayerState)
	{
	case APodPawn::PodState::MOVE_FORWARD:
		IncreaseCameraFOV(DeltaTime);
		break;
	case APodPawn::PodState::MOVE_BACK:
		DecreaseCameraFOV(DeltaTime);
		break;
	default:
		ResetCameraFOV(DeltaTime);
		break;
	}
The last improvement that had to be done was to stop these effects when the velocity was under a certain range, but since the velocity wasn’t working correctly I couldn’t implement it.
Of course in my user’s manual the possible corrections were explained for future development.
Inputs and Outputs
Throughout the process, one of the tasks given by our teacher was to identity the inputs and outputs of the tool we had to create. In my case it was relatively easy.
The inputs of my tool, for the animation, were the two joysticks of the controller.
Before I started to work on the project the 3rd year students had already assigned the controller’s values with these following methods, one to bind the axes:
1
2
3
4
5
6
7
8
9
10
11
// Called to bind functionality to input
void APodPawn::SetupPlayerInputComponent(UInputComponent* PlayerInputComponent)
{
	Super::SetupPlayerInputComponent(PlayerInputComponent);


	PlayerInputComponent->BindAxis("LeftStickX", this, &APodPawn::SetLeftStickX);
	PlayerInputComponent->BindAxis("LeftStickY", this, &APodPawn::SetLeftStickY);
	PlayerInputComponent->BindAxis("RightStickX", this, &APodPawn::SetRightStickX);
	PlayerInputComponent->BindAxis("RightStickY", this, &APodPawn::SetRightStickY);
}
and four methods to set the axes values:
1
2
3
4
void APodPawn::SetLeftStickX(float AxisValue)
{
	LeftStick.X = AxisValue;
}
1
2
3
4
void APodPawn::SetLeftStickY(float AxisValue)
{
	LeftStick.Y = AxisValue;
}
1
2
3
4
void APodPawn::SetRightStickX(float AxisValue)
{
	RightStick.X = AxisValue;
}
1
2
3
4
void APodPawn::SetRightStickY(float AxisValue)
{
	RightStick.Y = AxisValue;
}
Each joystick gave me values that I used for the UpdatePropellersRotation method. Then for the UpdateBodyRotation method I used both values, added them together and divided both values by two to get an interpolation of the values that I stored in an FVector called GlobalStickDirection:
1
2
GlobalStickDirection.X = ((LeftStick.X / 2.0f) + RightStick.X / 2.0f);
GlobalStickDirection.Y = ((LeftStick.Y / 2.0f) + (-RightStick.Y) / 2.0f);
The Output of my tool was a modification of the rotation values from the different objects composing the PodPawn.
Concerning the modification of the field of view (FOV), the input was two of the Pod’s states. One that increased it and one that decreased it, in any other state the field of view would tend to go back to it’s initial value. These two states where defined by the position of the two joystick:
1
2
3
4
5
6
7
8
...
else if (LeftStick.Y >= DeadZone && -RightStick.Y >= DeadZone) {
		PlayerState = PodState::MOVE_FORWARD;
	}
	else if (LeftStick.Y <= -DeadZone && -RightStick.Y <= -DeadZone) {
		PlayerState = PodState::MOVE_BACK;
	}
...
The output of this part was, as mentionned before, the modification of the field of view of the PodPawn’s camera.
The result
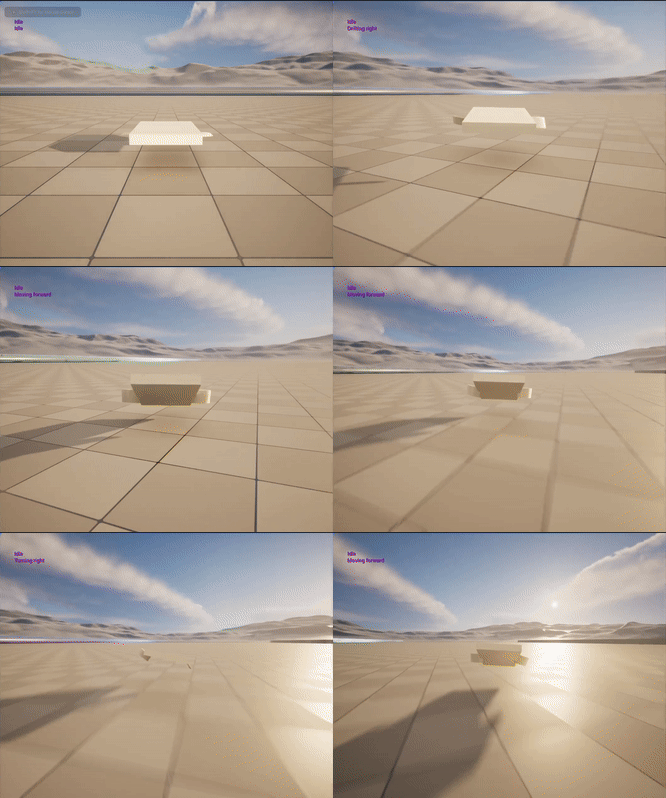
In the end, the result was the following, for the body rotation version:
and the camera/body rotation version:
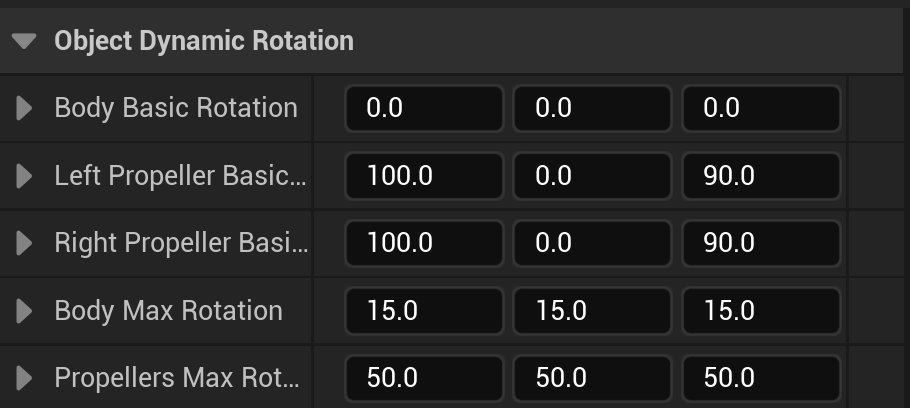
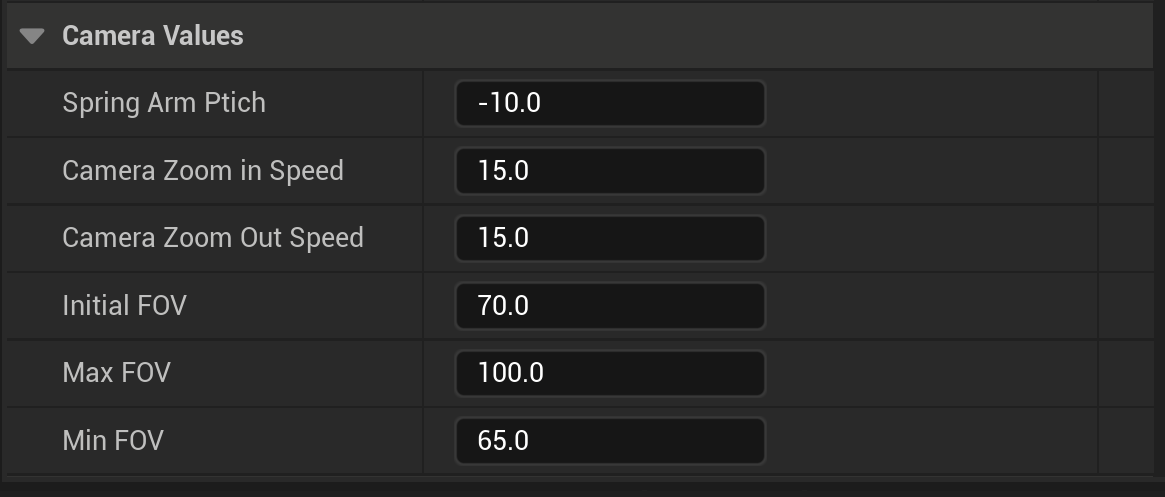
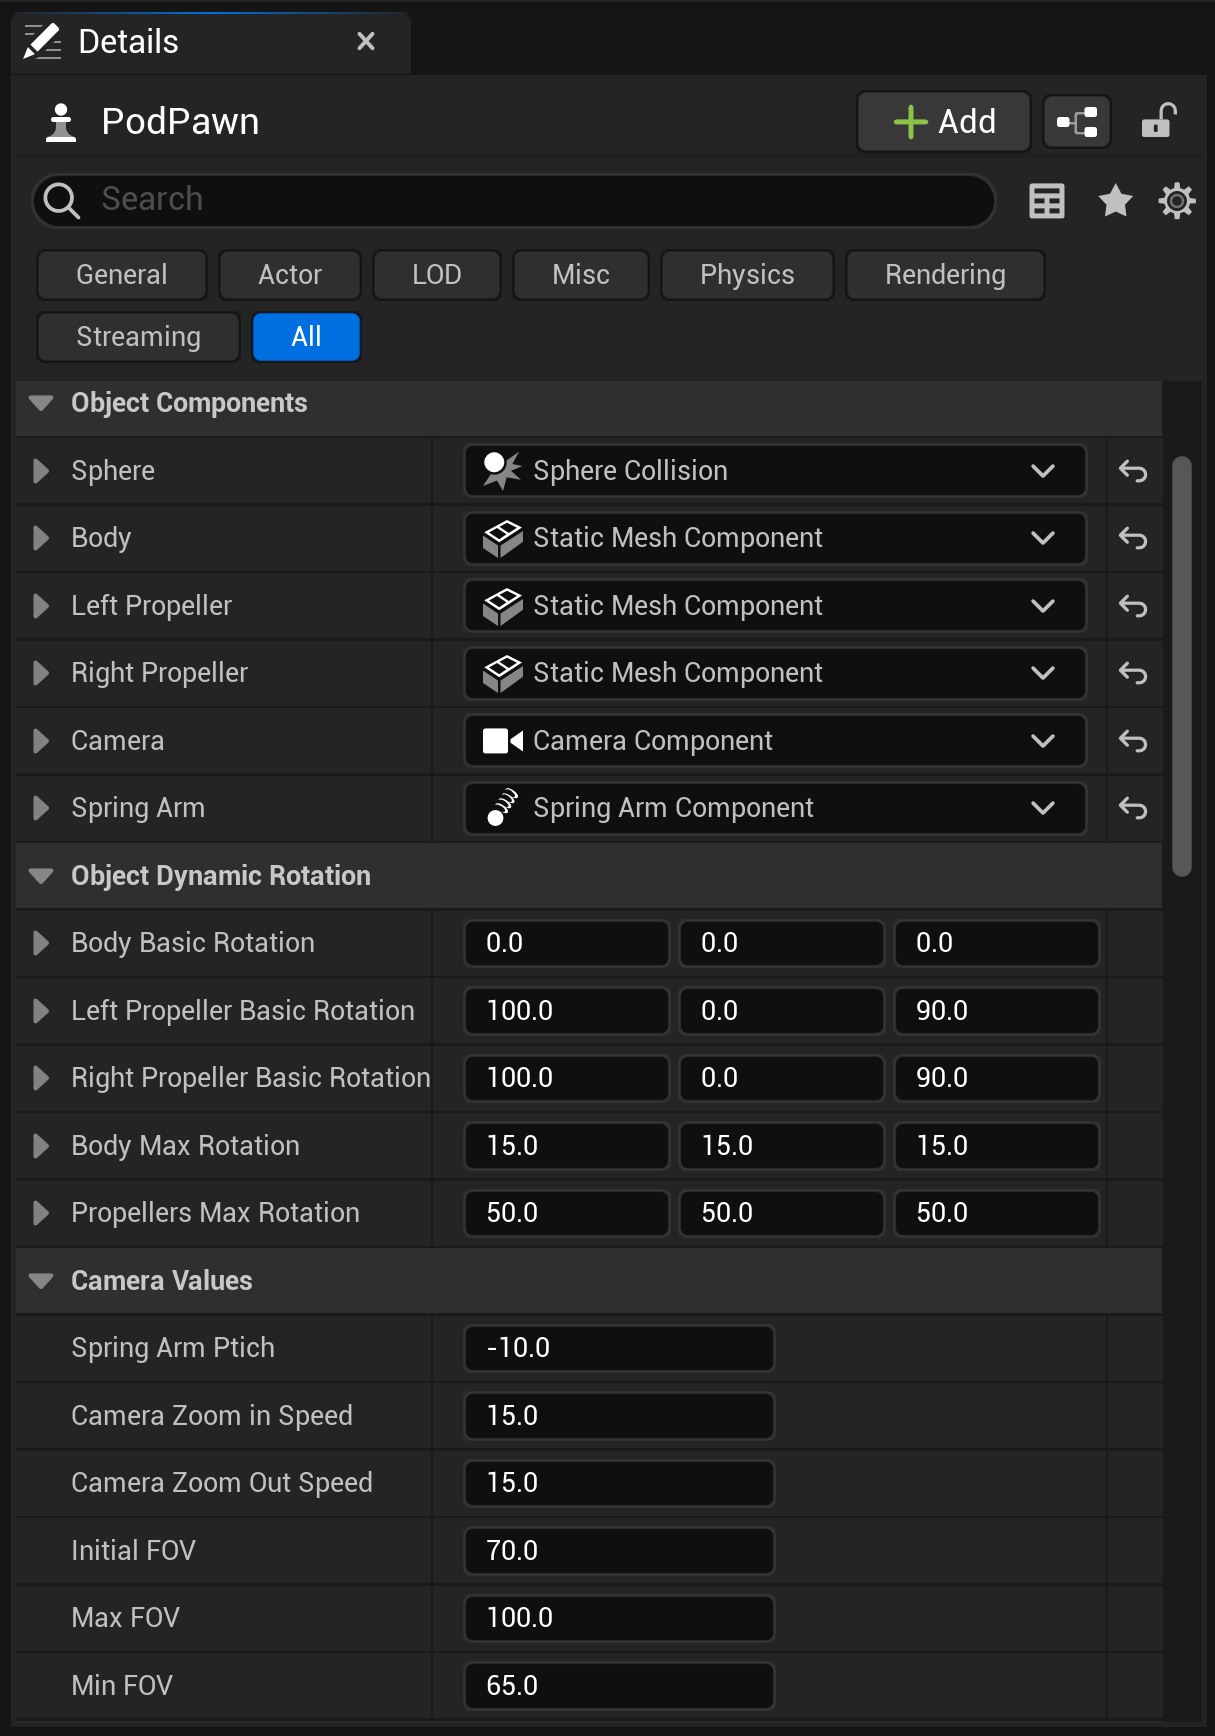
Thanks to the exposed properties the game designers would be able to change all values in order to modify them according to their will directly in the “Detail” window of the editor.
Conclusion
Throughout this module I was given a task on an engine that wasn’t familiar to me and had to adapt to and understand it before even getting into my peers code.
Once I got used to it, I had to study how the player character was coded and implement features over the existing code without breaking it’s logic or interfearing.
The most difficult and time consuming parts of this job was to do it using blueprints only for visualisation since the player was spawned from its C++ class and having to develop a system depending on acceleration/velocity when these weren’t yet functionning correctly.
In the end, I delivered what was needed in a correct amount of time and even having time to add more improvements to the game feel. Not only had I executed my task correctly and delivered future improvement options but the result also felt realy good in action.
